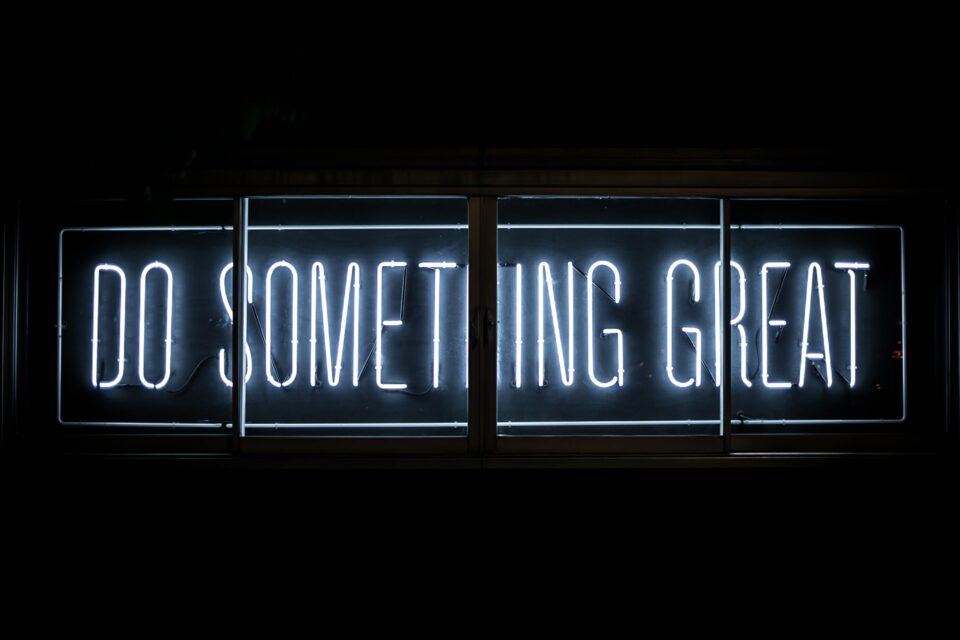
Custom made neon signs give you a beautiful and eye-catching way to promote your event or business. From exhibitions to birthday parties, if you want to make a big impact, neon signs are the ideal way to do so.
But, how are these bespoke neon signs created? Companies with a product management certification and design credentials make these products. Read on to discover the step-by-step process…
- The process starts with the artwork. This is something you can provide yourself or you can have it created for you.
- Using the artwork, a full glass drawing will be created. This is always made in reverse. The purpose of this is so that the parts that need to be hidden are at the back when the sign is made.
- The glass tubing is then measured against the glass drawing. Where the tubing needs to be bent, it will be marked with a pencil.
- Using a flame, the glass tubing will then be heated.
- While the glass is in the flame, it will be bent into the shape that is required.
- Once the correct shape has been created, the glass will then be cooled down quickly. This is achieved by using a cooler flame.
- To make sure that the original design is replicated, the bent glass will be matched against the drawing throughout.
- If your design is intricate, i.e. it includes a lot of small parts or letters, then these may be made as individual parts which are then joined together. Of course, this all depends on the design. If this is required, though, the glass will be attached by heating both sections and fusing them together.
- The next step is to place electrodes on both sides of each section of the glass.
- Using a vacuum pump, air will be eradicated from the glass sections. The tube will then be subject to high voltage electricity, which makes the electrodes and tubes get extremely hot.
- Using argon or neon gas, the sections of glass will be pumped with gas. The gas used depends on the final colour of the sign. For neon gas, red is the main colour. The majority of other colours use argon gas.
- The glass is then hung up on an ageing bay and connected to a transformer. This ensures the gases have burnt enough.
- Block out paint is used to paint some of the glass.
- The neon sections are now assembled.
- The transformer is placed inside the acrylic case or attached to the backing panel.
- To hold the neon into place, tube supports are attached to the backing panel.
- To make a circuit, the separate sections of glass are wired together.
- Silicone end covers are used to cover the bare wires.
- Final adjustments are made.
So there you have it: the 19 steps that are involved when it comes to creating the perfect neon sign! We hope this information has been helpful.
